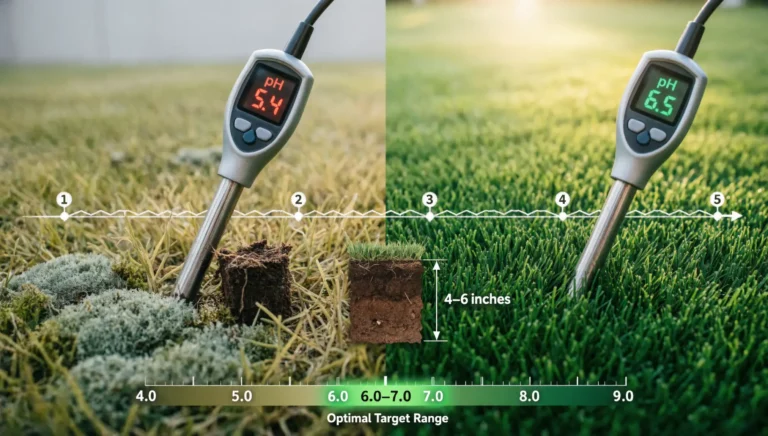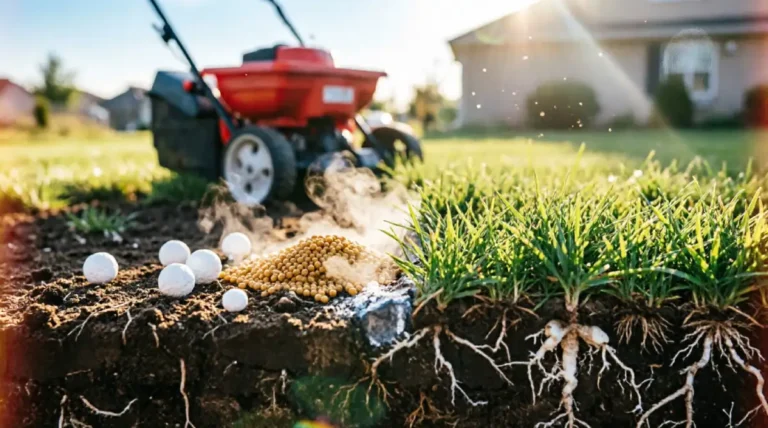
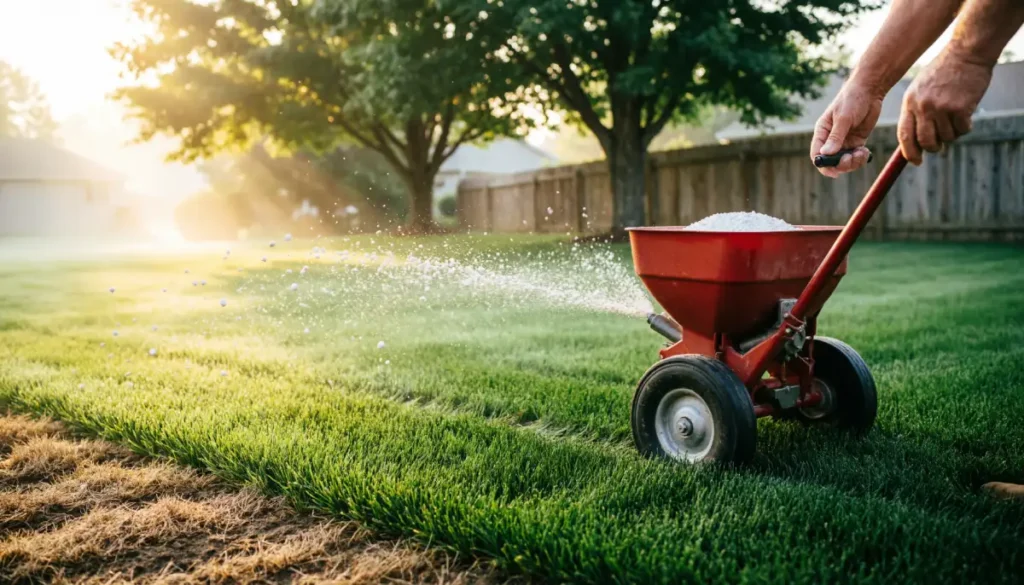
If you are wondering why lime on lawn grass is so critical, it comes down to nutrient availability; acidic soil locks up the fertilizer you apply. Learning how to use lime on lawns correctly is the most powerful way to correct this. This step-by-step guide delivers a science-backed approach to applying pelletized lime, ensuring maximum absorption and a thicker, greener turf.
Unlike generic advice that simply tells you to “spread it,” we’ve developed The 48-Hour Application Protocol, a detailed timeline that optimizes every step from preparation to activation. This method ensures maximum lime absorption, prevents common striping issues, and delivers the pH correction your lawn desperately needs.
🧮 Stop Guessing: Use Our Free Lime Rate Calculator
Calculating lime manually requires complex SMP Buffer math. Don’t guess your application rate for pelletized lime based on water pH alone.
Enter your soil test results, lawn size, and soil type into our dedicated tool to get your exact poundage and bag count in seconds.
Calculate Your Exact Lime Rate Now →
✓ Free to use | ✓ Based on university extension guidelines | ✓ Instant results
Understanding the Types of Lawn Lime: Which One Is Right for Your Grass?
Before diving into application techniques, it’s crucial to understand the different types of lawn lime available. Choosing the right form directly impacts application ease, effectiveness, and how much pelletized lime you will ultimately need to purchase.
Pelletized Lime vs. Pulverized (Powdered) Lime
Pelletized lime has revolutionized lawn care by offering the same pH-raising benefits as traditional agricultural lime but with dramatically improved handling characteristics. The main difference between pelletized and powdered lime is ease of use. Pelletized lime is less dusty, easier to handle when monitoring spread rates, and works efficiently because the particles are compressed from finely ground material.
Key Advantages of Pelletized Lime:
- Dust-Free Application: Unlike pulverized lime that creates clouds of dust, pelletized forms stay contained and won’t coat your clothes or drift onto neighboring properties.
- Even Distribution: The uniform pellet size ensures consistent coverage when using standard broadcast or drop spreaders.
- Faster Initial Reaction: Because it is compressed from fine particles, it begins breaking down more quickly than coarse ag lime once moisture is applied.
- Storage Friendly: Pellets resist caking and moisture absorption, making them ideal for homeowners who buy in bulk.
Pulverized (Powdered) Lime, while cheaper per pound, presents significant challenges for residential applications. It is harder to spread evenly, creates a mess during application, and requires specialized equipment for best results. However, its fine particle size means it can react slightly faster once applied, though the practical difficulties often outweigh this benefit for typical lawn care scenarios.
Calcitic Lime vs. Dolomitic Lime
Beyond the physical form, you’ll also choose between two chemical compositions:
Calcitic Lime (Calcium Carbonate): This type contains primarily calcium and quickly releases to adjust soil pH. It’s ideal when your soil test shows adequate magnesium levels but deficient calcium or low pH.
Dolomitic Lime (Calcium Magnesium Carbonate): In addition to calcium carbonate, dolomitic lime contains magnesium carbonate. This dual-action formula is perfect for soils deficient in both calcium and magnesium. Dolomitic lime sources have the added benefit of increasing available magnesium, though they release more slowly throughout the growing season.
Which Should You Choose? Your soil test results dictate this decision. If magnesium levels are sufficient, calcitic lime works faster and more economically. If magnesium is low, dolomitic lime addresses two deficiencies simultaneously. When in doubt, choose the most economical liming material that meets your soil’s specific needs.
How Do I Calculate How Much Lime I Need? (Reading Your Soil Test)
Many homeowners look at the “Water pH” on their soil test, see a 5.5, and assume they just need to add a standard amount of lime to reach 6.5. This is the most common mistake in lawn care.
To calculate your exact lime requirement, you must look at the Buffer pH (sometimes called the SMP Buffer or Adams-Evans Buffer) on your lab report.
The “Buffer Capacity” Trap
Soil acts like a sponge for acidity. This is called its buffering capacity, driven by the soil’s Cation Exchange Capacity (CEC). A heavy clay soil holds onto hydrogen ions (acidity) much tighter than sandy soil. Therefore, changing the pH of clay requires significantly more lime than changing the pH of sand, even if their starting water pH is exactly the same.
The Buffer pH test measures this hidden acidity. The lower your buffer pH, the more lime you need. Understanding the chemistry of how calcium carbonate raises soil pH helps explain why this reaction takes months to complete.
How Much Lime to Raise pH by 1 Point?
There is no universal “X pounds per 1,000 sq ft” rule to raise pH by 1. Because pH is a logarithmic scale and soil buffering varies wildly, raising pH from 5.0 to 6.0 requires vastly more lime than raising it from 6.0 to 7.0.
As a rough baseline, agronomists often estimate it takes about 15 to 20 pounds of pelletized lime per 1,000 square feet to raise pH by 0.5 points in average loam soil. However, relying on this guesswork leads to the over-application and under-application problems detailed below. This is exactly why we built the SoilTune calculator to do the complex SMP buffer math for you.
Once your calculator gives you the total poundage, you need to translate that into bags of lime for lawn application. Most standard bags of pelletized lime contain 30 or 40 pounds. Simply divide your total required poundage by the bag weight to know exactly how many bags to buy, preventing both wasted money and incomplete applications.
Why Calculating the Right Lime Amount Matters More Than You Think
One of the most critical mistakes homeowners make is applying lime without proper calculation. The consequences of guessing your lime rate extend far beyond wasted money, they can actually harm your lawn’s health and delay pH correction by months or even years.
The Dangers of Over-Application
While lime is generally safe, applying excessive amounts creates several problems:
- Nutrient Lockout: Over-liming raises pH too high, making essential nutrients like iron, manganese, and zinc unavailable to grass plants.
- Extended Correction Time: If you overshoot your target pH, there’s no quick fix. You must wait months for natural processes to lower it, or carefully apply elemental sulfur to reverse the process (see our complete guide on lowering soil pH with sulfur).
- Wasted Investment: Typical application rates for pelletized lime usually do not exceed 50 pounds per 1,000 square feet, meaning over-application provides zero additional benefit.
The Problems with Under-Application
Conversely, applying too little lime wastes an entire season:
- Ineffective pH Change: Lime takes time to neutralize soil acidity, often as much as six months before pH changes significantly.
- Delayed Results: It takes pelletized lime in excess of 100 days to reach maximum soil pH adjustment, so under-application means waiting an entire growing season for minimal improvement.
The Golden Rule: Never Exceed 50 Pounds Per 1,000 Square Feet
Soil experts universally agree on one critical limit: never add more than 50 pounds of lime per 1,000 square feet in a single application. Even when soil tests recommend higher amounts, you must split applications across multiple seasons. Rates as high as 50 pounds per 1,000 sq. ft. can be applied without damage to the lawn if recommended by a soil test, but exceeding this threshold risks burning grass and creating nutrient imbalances.
Pro Tip: If your soil test recommends more than 50 pounds per 1,000 square feet, use our Lime Rate Calculator to automatically split your applications safely over multiple seasons.
Step-by-Step Guide: The 48-Hour Lime Application Protocol
This proven protocol maximizes lime effectiveness by coordinating preparation, application, and activation phases. Follow this timeline precisely for professional-grade results.
24 Hours Before: The Preparation Phase
Step 1: Soil Moisture Assessment
Lime requires adequate soil moisture to begin the chemical reaction that raises pH. The ideal condition is “field capacity”, moist but not waterlogged. The Squeeze Test: Grab a handful of soil from 2-3 inches deep and squeeze firmly. Perfect moisture forms a loose ball that holds together briefly before breaking apart.
Step 2: Mowing to Optimal Height
Proper mowing before lime application ensures pellets reach the soil surface rather than getting trapped in excessive thatch. Mow cool-season grasses to 2.5–3 inches, and warm-season grasses to 1–3.75 inches. Mowing 18–24 hours before application gives grass blades time to recover while keeping the canopy short enough for pellets to penetrate.
Step 3: Spreader Calibration & Settings
Calibrating your spreader prevents costly over-application and striping. For Pelletized Lime Spreader Settings: Always check the back of the lime bag for the manufacturer’s recommended setting for your specific spreader model (e.g., Scotts Rotary or Drop spreaders). If no setting is listed, start with a low setting (like 3 or 4 on a 1-10 dial) and do a test pass on a 10×10 ft marked area. Weigh the leftover lime to ensure you are applying the correct pounds per 1,000 sq ft.
Application Day: Execution Phase
Step 4: Weather Check
Lime can be applied at any time during the year, but it should not be applied to turf that is wilted or frost-covered. Ideal temperatures are 50–75°F, with wind speeds below 10 mph to prevent drift.
Step 5: Application Technique & Overlap
For broadcast (rotary) spreaders, apply one pass around the entire lawn perimeter to establish boundaries, then make all passes parallel to the longest side of your lawn. Maintain a consistent walking speed (3–4 mph) and overlap each pass by 50% of the spreader width to prevent striping. For drop spreaders, place one wheel directly on the edge line of the previous pass.
24 Hours After: Activation Phase
Step 6: Post-Application Irrigation
After you’ve applied the lime, water your lawn with 0.25–0.5 inches of water. This critical step washes pellets off foliage (preventing leaf burn), initiates dissolution, and moves the lime down to the root zone where pH adjustment occurs.
Safety & Handling Tips for Homeowners
While pelletized lime is much safer and less dusty than pulverized lime, it is still an alkaline soil amendment that requires basic safety precautions during handling and application.
- Wear Proper PPE: Always wear work gloves and safety glasses. If you are applying on a breezy day, wear a basic dust mask to avoid inhaling any fine particles that break off the pellets.
- Pet & Child Safety: Keep pets and children off the lawn during application. They can safely return to the yard immediately after you have completed Step 6 (Post-Application Irrigation) and the grass blades have dried.
- Protect Hardscapes: Lime can stain or leave a white residue on concrete driveways and stone patios. Sweep or blow any stray pellets off hardscapes immediately after spreading, before they get wet and dissolve.
Mixing Amendments: Can I Apply Lime with Fertilizer or Seed?
Homeowners frequently ask if they can save time by applying lime alongside other lawn care products. Here is how to handle mixing amendments:
- Lime and Fertilizer: You can apply lime and standard lawn fertilizer on the same day. However, never mix lime and fertilizer in the same spreader hopper. Apply them in separate, sequential passes. Avoid applying lime at the exact same time as high-nitrogen ammonium-based fertilizers, as the reaction can release ammonia gas and burn the grass.
- Lime and Grass Seed: It is highly beneficial to apply lime before overseeding. Apply your pelletized lime, water it in, and then spread your grass seed. The corrected pH will drastically improve your seed germination rates.
- Lime and Weed Killers: Wait at least 7 to 10 days between applying lime and applying post-emergent herbicides. Altering the soil pH can temporarily change the efficacy of certain chemical weed control products.
Application Timing: When to Apply Lime for Maximum Effectiveness
Best Seasons for Liming
The best time for lime on lawns is in the fall and early spring.
- Fall Application (September-November): Provides 6+ months for the lime to break down and change soil pH before the peak growing season. Fall soil conditions and moisture support slow, steady decomposition.
- Early Spring Application (March-April): Provides pH correction right before the grass enters its active growth phase, utilizing natural spring rains for activation.
How Long Between Applications?
Depending on your soil’s needs, it can take three to six months for pH levels to improve. If your soil test recommends more than 50 lbs per 1,000 sq ft, space applications 4–6 months apart. Soils should be re-tested 4–6 months after the final limestone application to check soil pH.
Conclusion: Your Path to Perfect Soil pH
Mastering how to use lime on lawns transforms your grass from struggling to thriving. By following The 48-Hour Application Protocol, preparing 24 hours before with proper mowing and moisture management, executing precise application with calibrated equipment, and activating with timely irrigation, you ensure maximum pH correction and lawn health.
Don’t leave your lawn’s health to guesswork. Use our free Lime Rate Calculator now to determine your exact application needs, and watch your lawn transform.